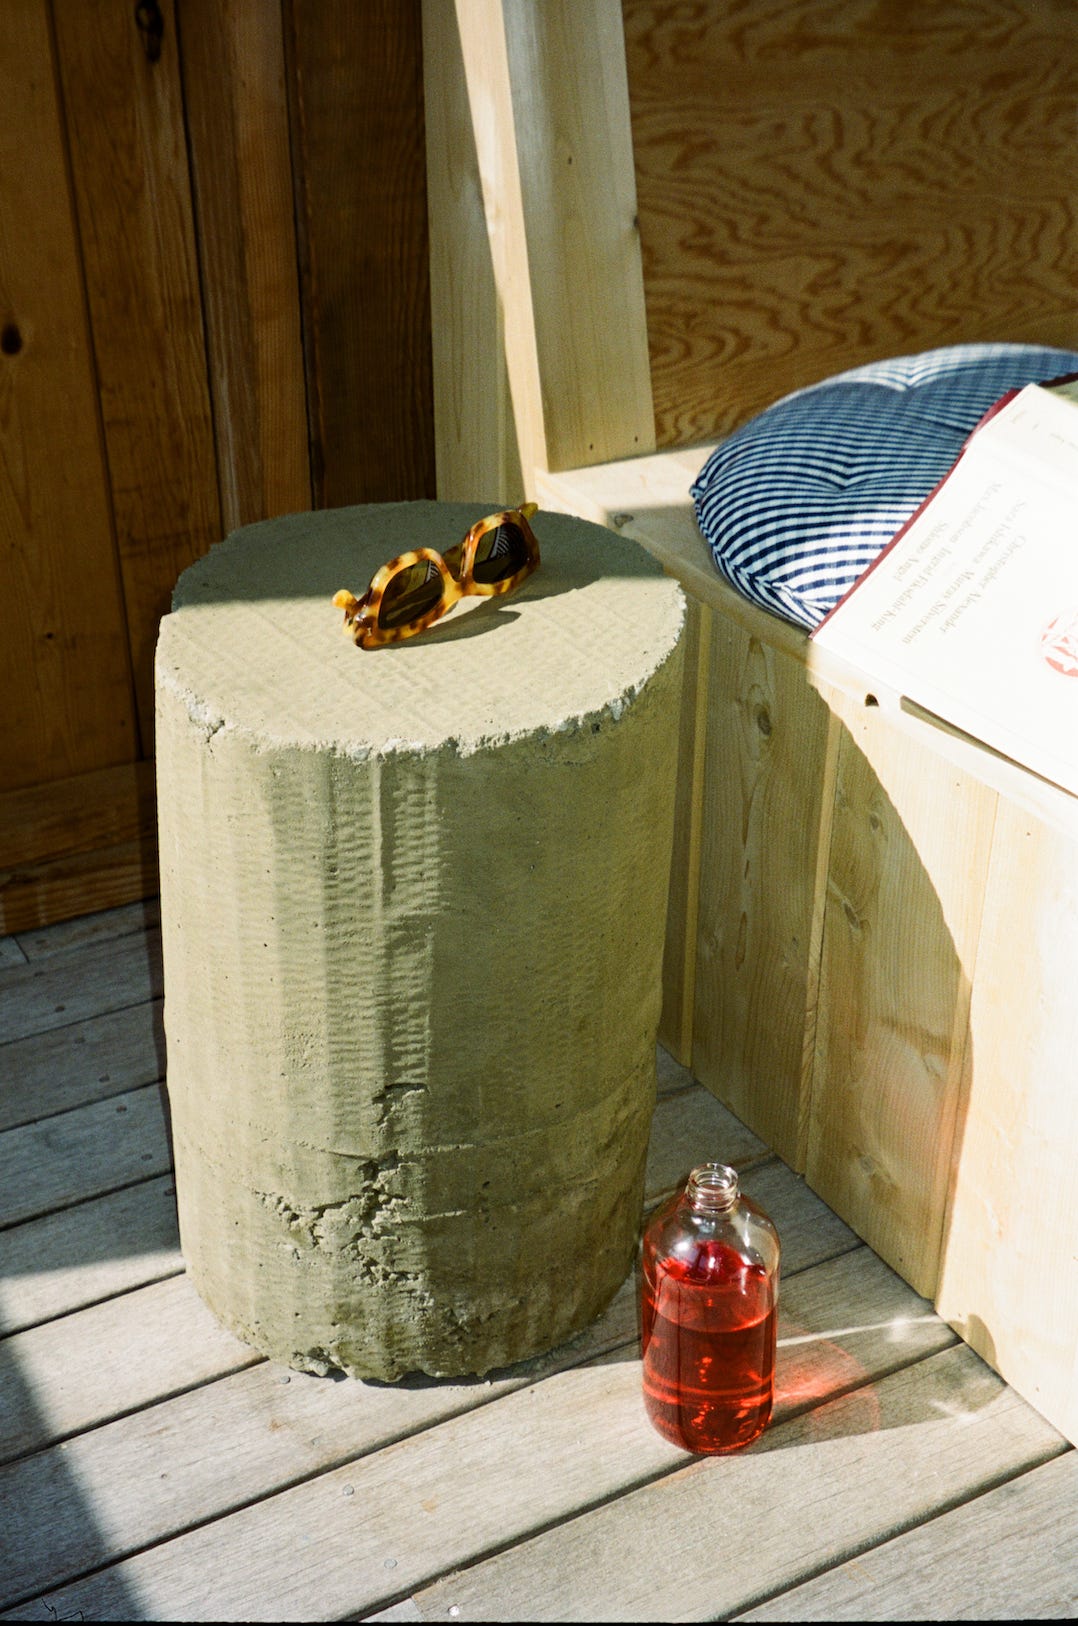
We're Making: Concrete Pedestal Table
A DIY project, freshly liberated from the confines of the print edition!
Lately, as we are about to round the corner on one year of paid subscriptions to Treehouse, I’ve been thinking a lot about value.
What’s paid and what’s free around here, essentially.
In plain, I want to do more for the paid subscribers, create more value, without leaving those who can’t or don’t want to pay, in the lurch, endlessly receiving those sad and frustrating (just me?) truncated “preview” emails. A little survey down at the bottom for everyone about what value is or isn’t, but for now (and in utter contradiction to what I just said, heyy!): I’m going to start bringing some of the project content, which has lived exclusively in print until now, into the free newsletter. Because if you haven’t seen the past year (!) of print zines, or the Reels I’ve begun to make in tandem, you haven’t seen all these fun projects I’ve been churning out.
So! Today, here’s a little thing I cooked up exactly one year ago. I was, as now, hotly anticipating some outdoor time. Time on the porch, engaged in leisure (lol). And as everyone knows, the only thing that gives way to balmy summertime leisure is working with concrete.
It’s a concrete pedestal table!
You will need:
Quikrete Quick-Setting Concrete
Direct Colors concrete pigment (there are also lots of cute concrete pigments on Etsy, who knew)
Mixing tray
Trowel
Cardboard
Packing Tape
Ruler
Box-cutter
To make:
Using some still-pretty-sturdy leftover cardboard, make your mold. Cut a larger rectangular piece (I eyeballed mine—no measurements, no problem) and then score it every inch. Cut a smaller square-ish piece for your to make the mold base.
Roll and tape the larger rectangle into a tube. Tape the tube to the base.
Then, create a smaller, less precise tube. This is going to fit inside the larger one, just so your table isn’t impossibly heavy and can be lifted by humans.
Mix concrete and pigment according to manufacturer directions. In my experience, despite the drying/setting time being slightly longer, you want it just a little looser than recommended so that you can get things pretty level. (And not have a smoother appearance overall!)
Pour 2-4 inches or concrete into larger tube. Use your trowel to move it around, get it fairly level.
Place smaller tube in the center. Pour remaining concrete in the area between the two tubes. Leaving a center area hollow, essentially.
Allow to set. You may want to try removing the center tube while it’s still slightly soft—it can be a bit of a beast to remove if the concrete’s fairly hard.
Allow to cure.
Have a table! Have some leisure—you deserve it, mixing concrete is hard!
Please, really, if you make this table or it inspires you to make something *like it* I need for you to immediately email me about it. You can reply to this one, easy.
And, speaking of paid subscriptions, I would love to know if any (or all!) of these ideas for more engagement, more value, more ~fun~ appeal…
This poll will only let you vote for one thing—if many or multiple of these ideas appeal (and especially if you have something in the Haven’t Thought Of category), let me know in the comments!
Thesis/TL;DR: I appreciate you at all tiers of engagement. 💝
Freckle paint. (LINK)
Stitching for Mending & Embellishment! (LINK)
What to do with your eclipse glasses. (LINK)
Meanwhile, in Los Angeles, this looks fun. (LINK)
And meanwhile in Springfield, MA, this looks… like Springfield. (LINK)


